User
-
You can follow the steps below to create an IAM user:
First, navigate to the IAM panel on the AWS console:

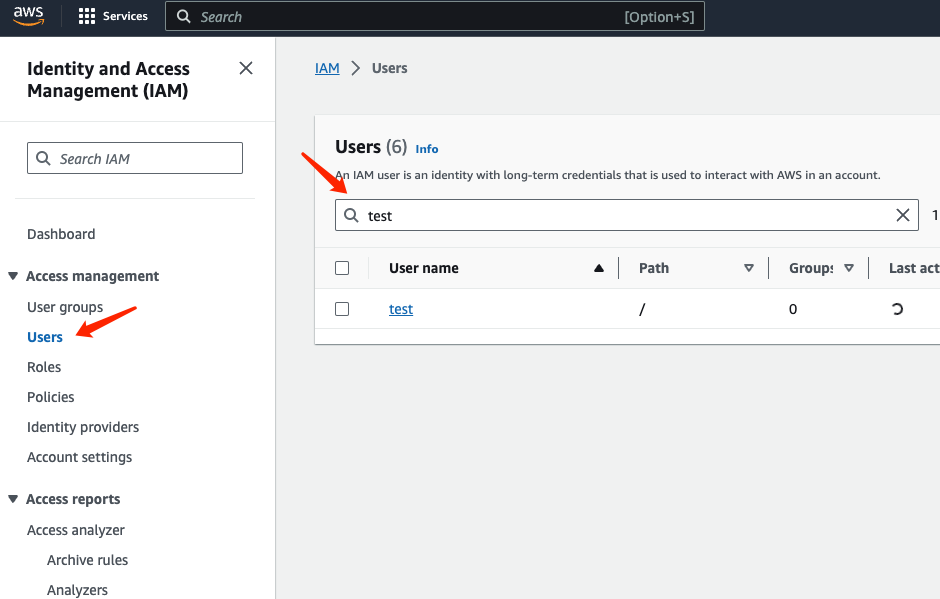
Click on "Users" to enter the user management interface:

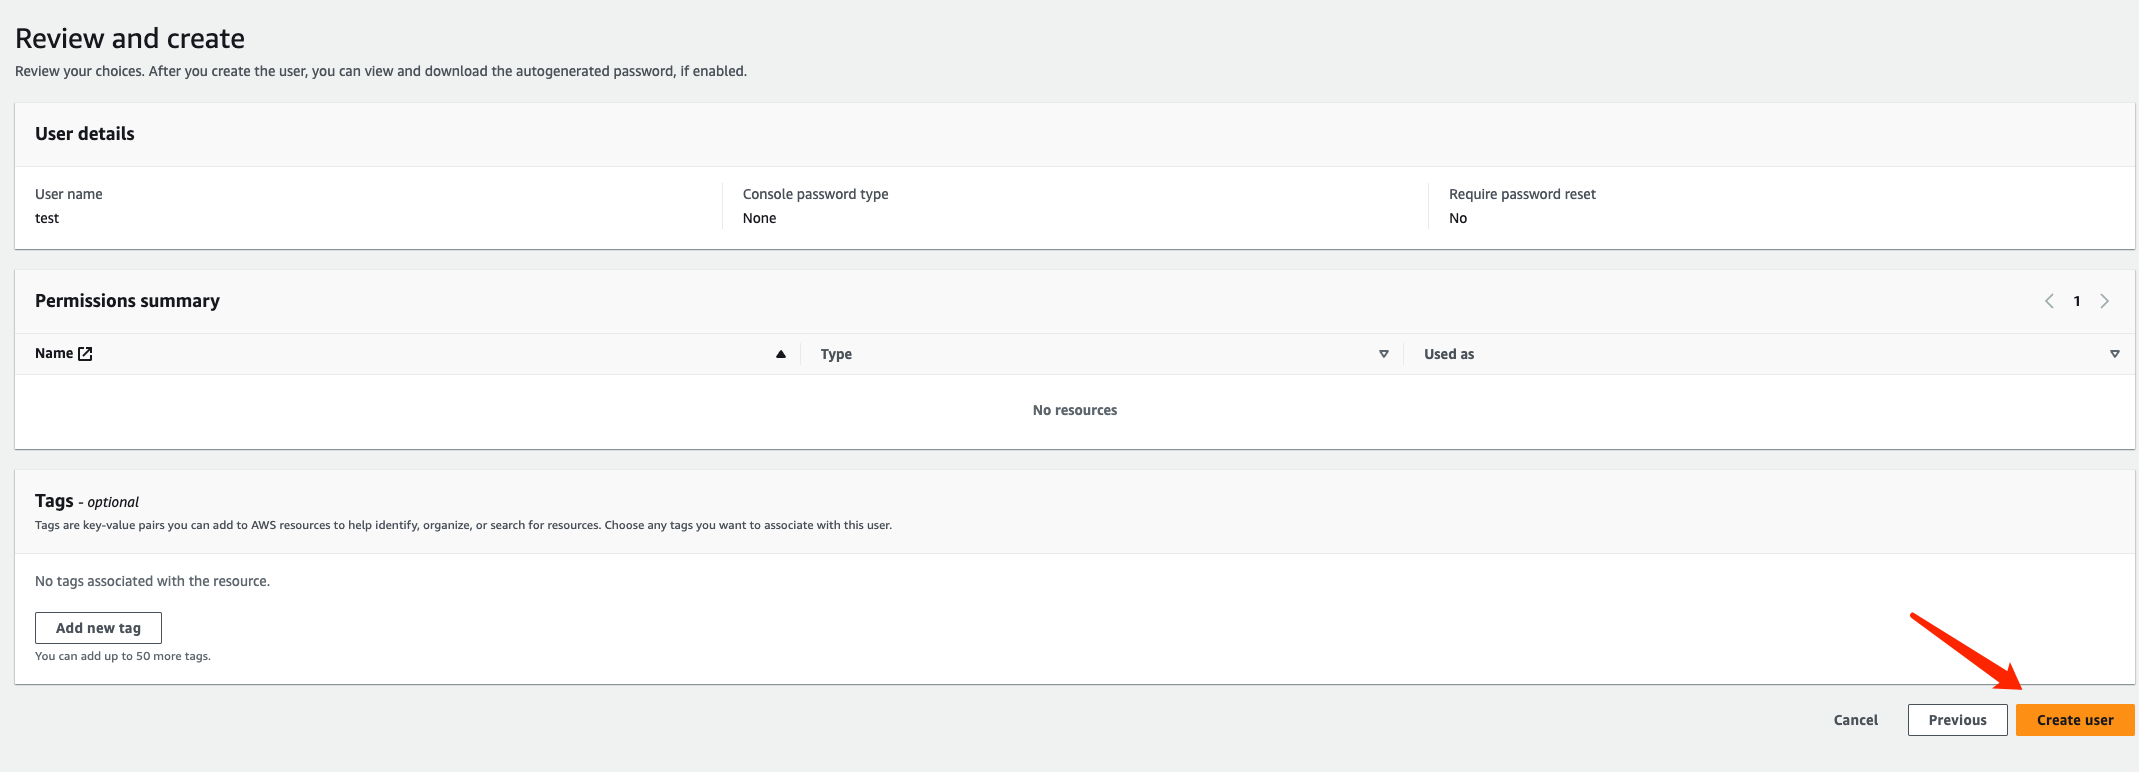
Click on “Create user”:

Click on “Create user” to complete the creation:
You can refer to this document (opens in a new tab) for more information on creating users.
-
When creating resources on RedPine, we will need the permission token for the user you created in the previous step. If you have a newly created role, you also need to create an Access Token.
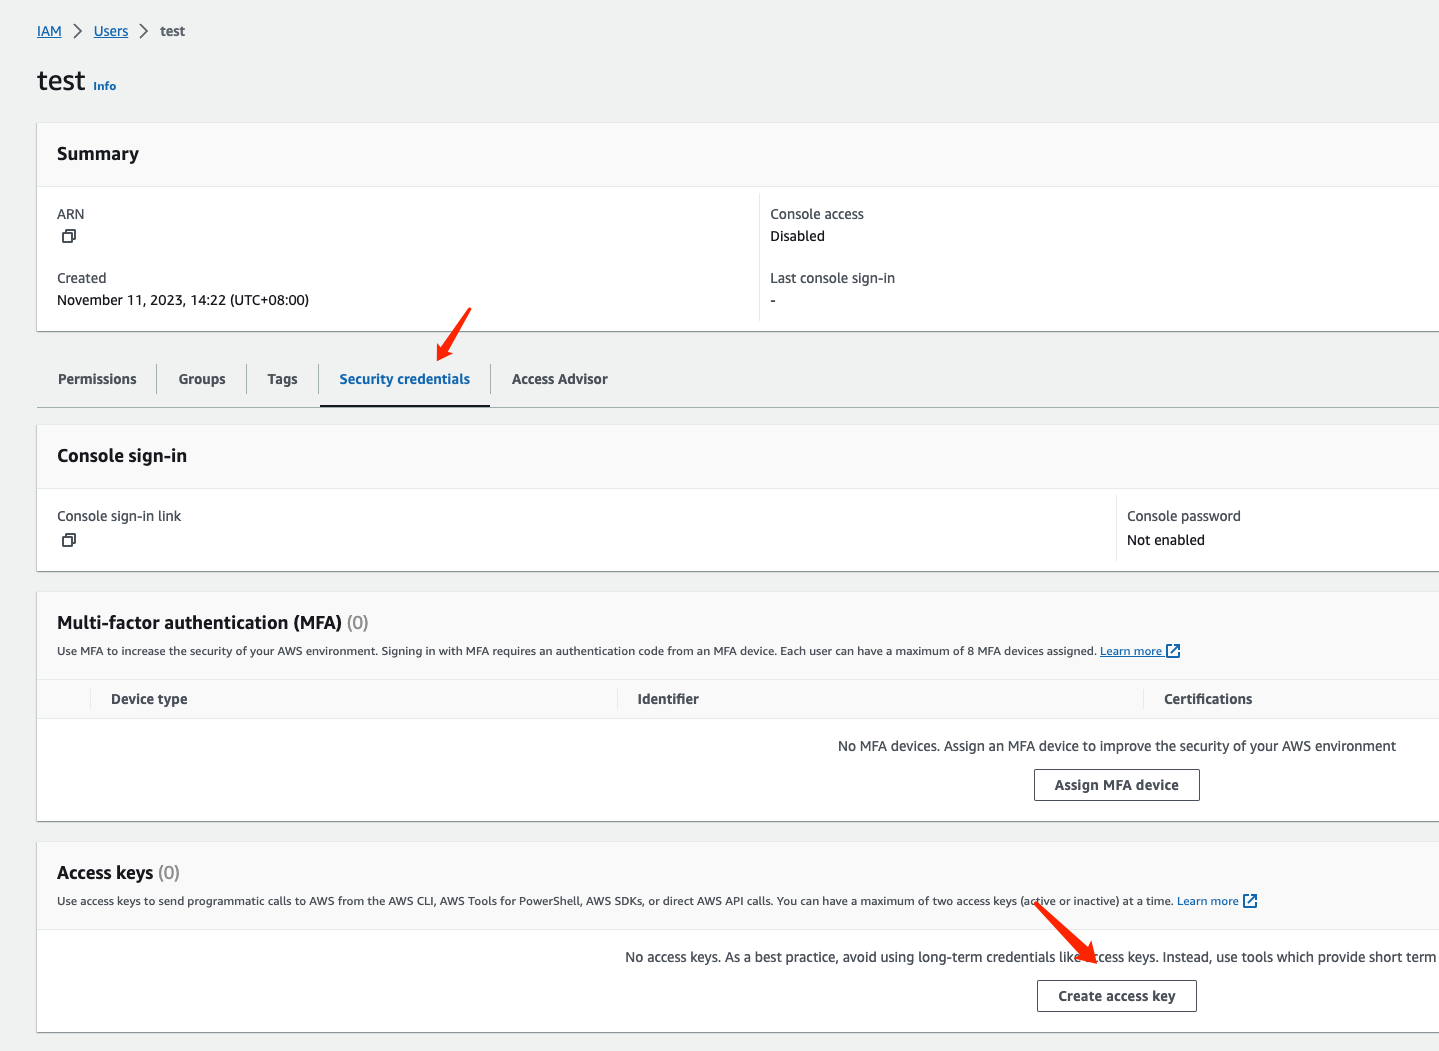
In the "User" tab, search for the user you created and click on it to enter the details page:
Click on "Security Credentials" in the details page, and then click on "Create access key":
Select "Other" and click “Nect” to complete the creation:

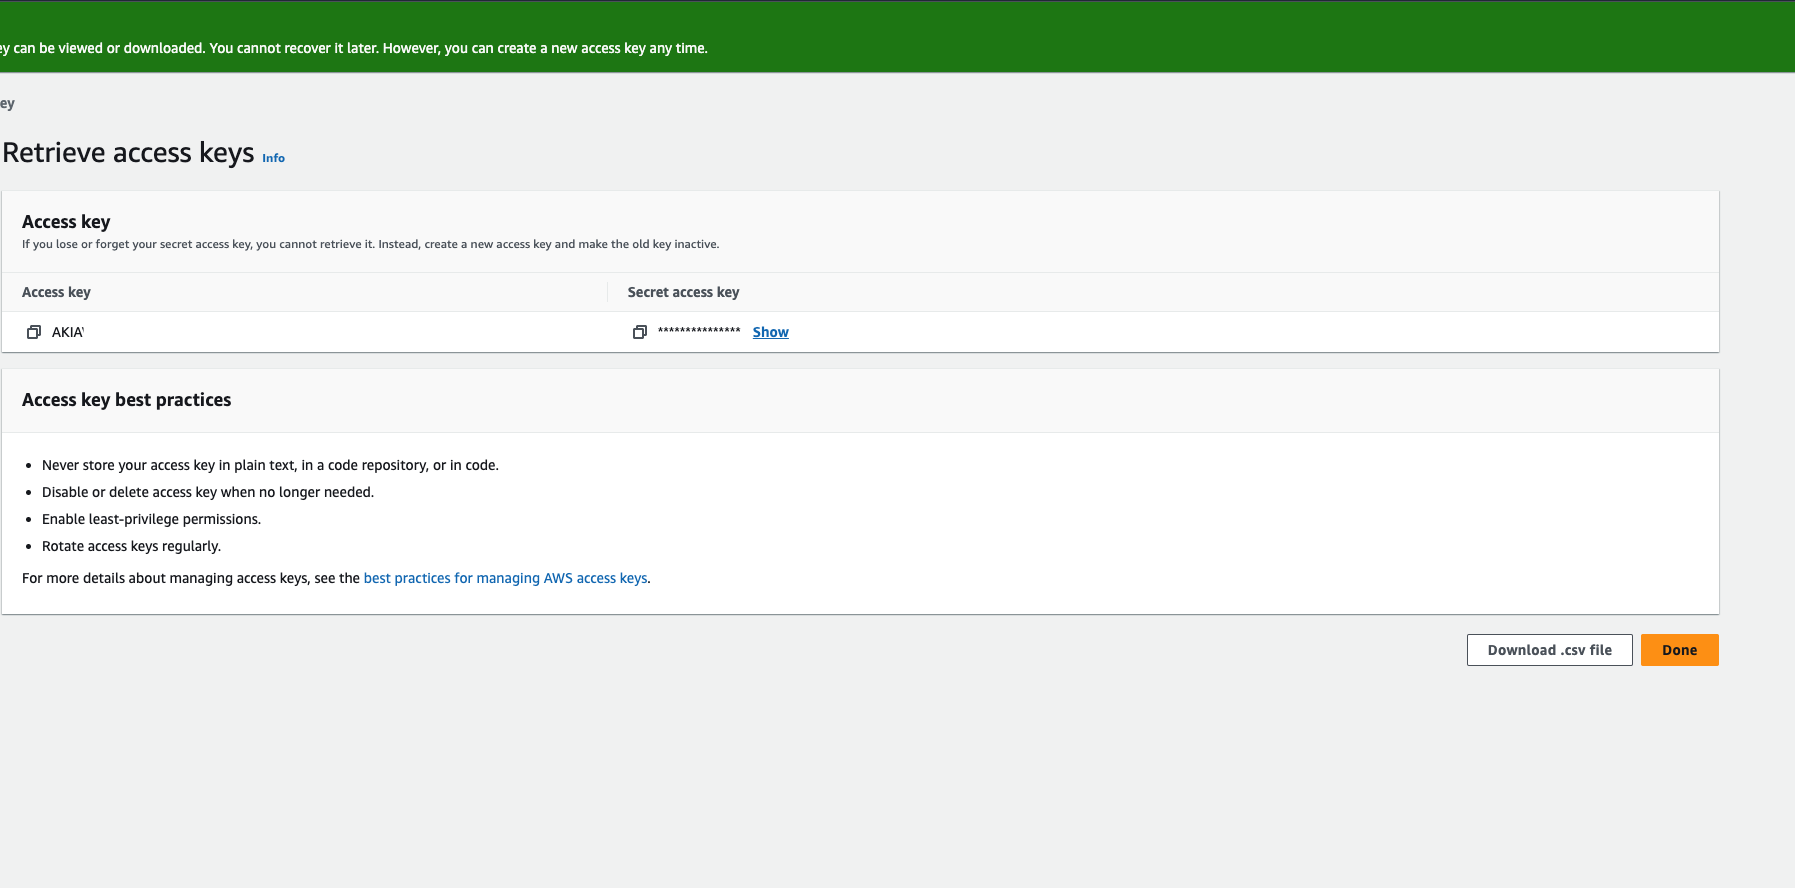
We recommend saving the key as a .csv file in the final step:
Permission
-
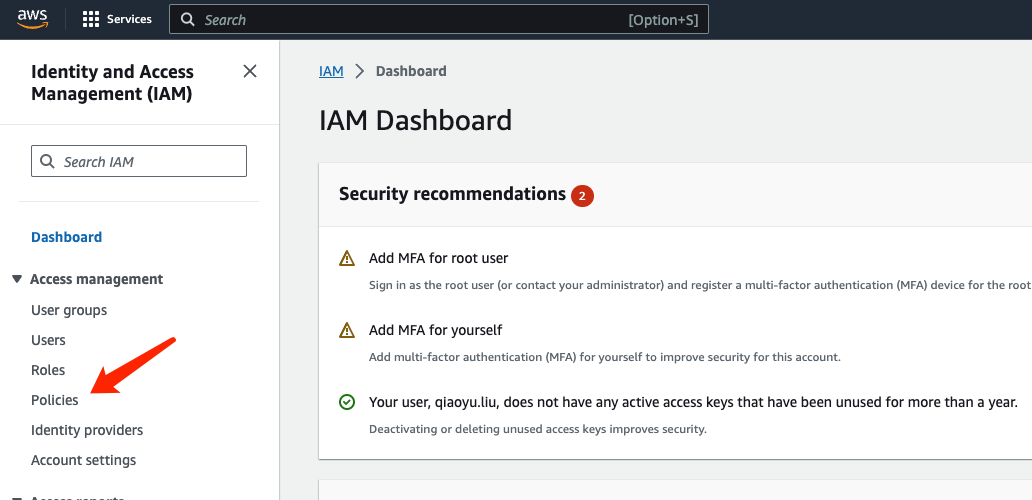
You need to add permissions to the user you just created:
Click on "Policies":
Click on “Create Policy” in the upper right corner:

Click on “JSON” to switch to the policy editor:
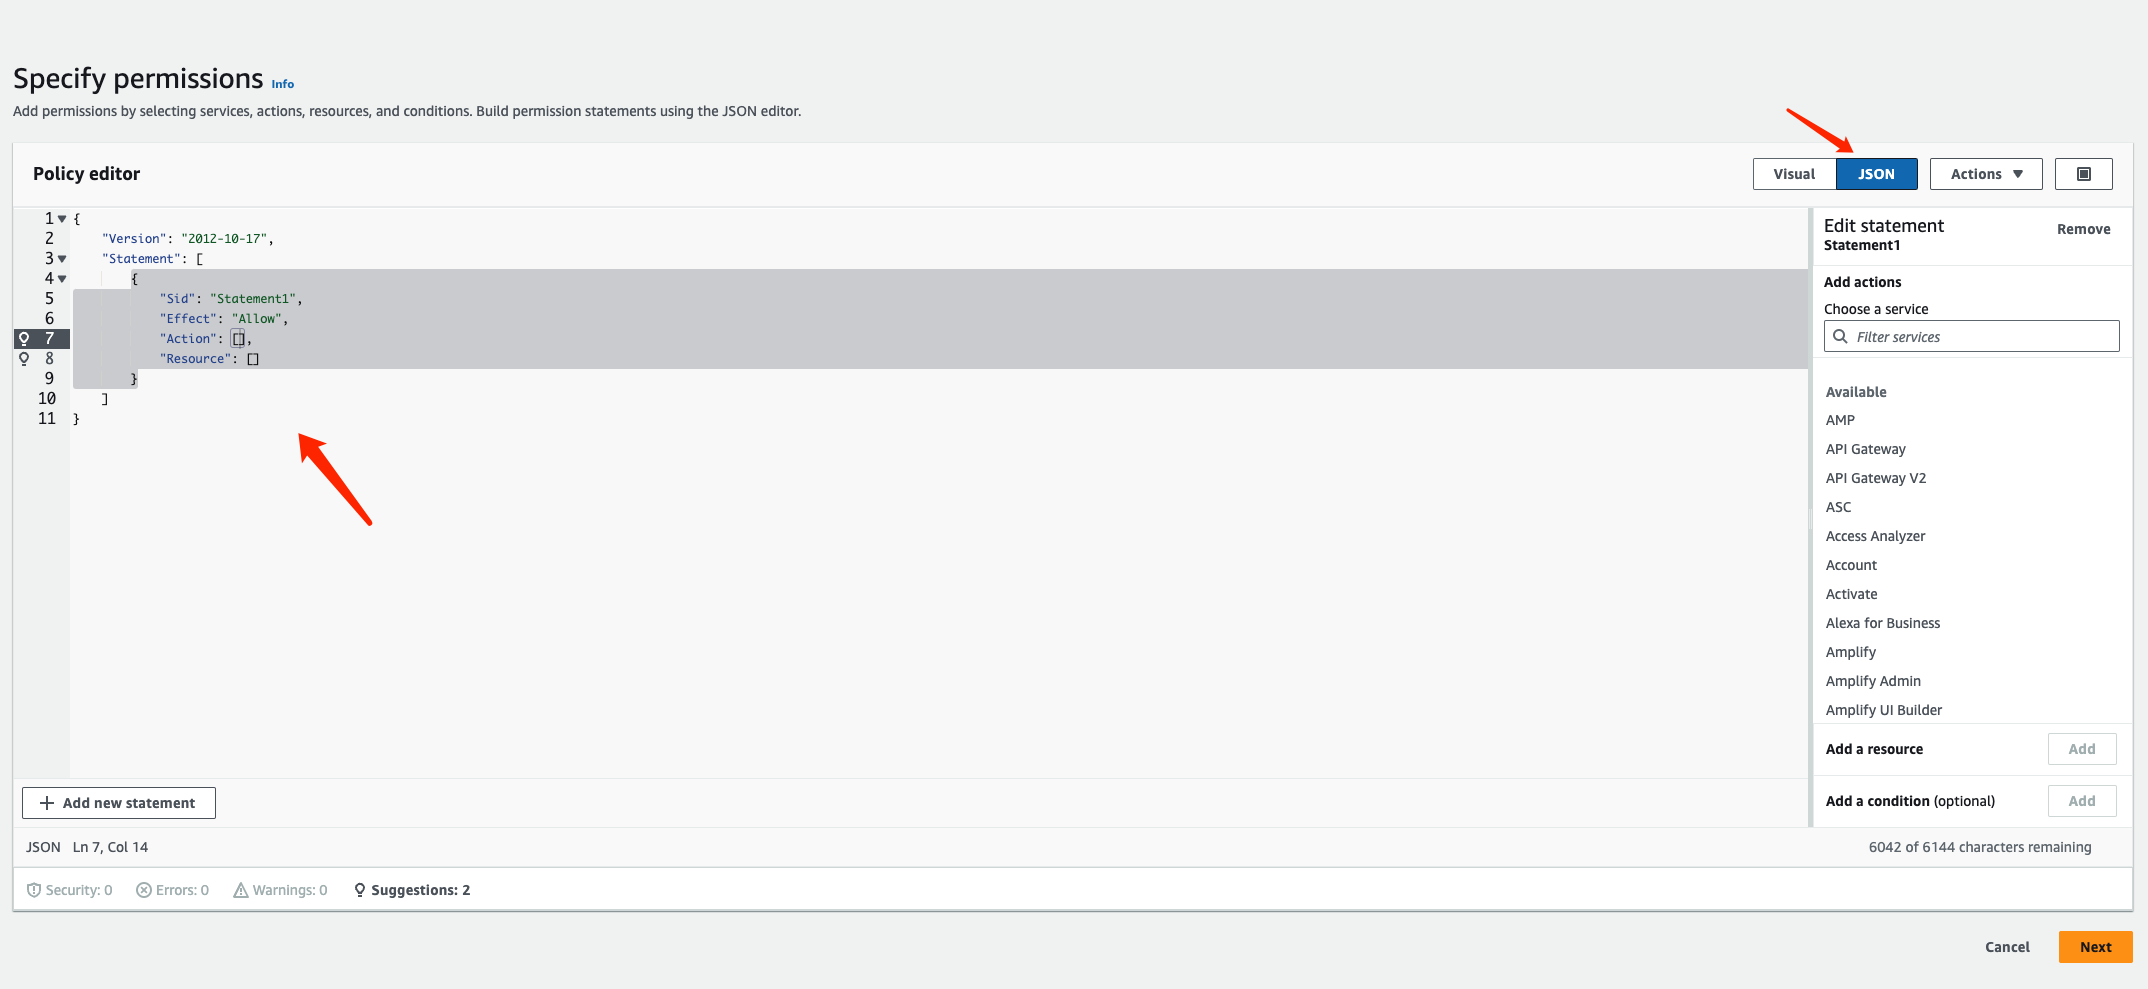
Here, you need to fill in the policy. We recommend granting the minimum required permissions. The recommended permissions are as follows:
{
    "Version": "2012-10-17",
    "Statement": [
        {
            "Sid": "EC2Access",
            "Effect": "Allow",
            "Action": [
                "ec2:RunInstances",
                "ec2:CreateTags",
                "ec2:DescribeVpcs",
                "ec2:DescribeSubnets",
                "ec2:CreateSecurityGroup",
                "ec2:AuthorizeSecurityGroupIngress",
                "ec2:DescribeAddresses",
                "ec2:AllocateAddress",
                "ec2:AssociateAddress",
                "ec2:DescribeInstanceTypes",
                "ec2:DescribeInstances",
                "ec2:DeleteSecurityGroup",
                "ec2:TerminateInstances",
                "ec2:DisassociateAddress",
                "ec2:ReleaseAddress",
                "ec2:CreateVpc",
                "ec2:CreateSubnet",
                "ec2:CreateInternetGateway",
                "ec2:CreateRouteTable",
                "ec2:CreateRoute",
                "ec2:AssociateRouteTable",
                "ec2:CreateNetworkAcl",
                "ec2:CreateNetworkAclEntry",
                "ec2:CreateNetworkInterface",
                "ec2:AttachNetworkInterface",
                "ec2:CreateNatGateway"
            ],
            "Resource": "*"
        },
        {
            "Sid": "RDSAccess",
            "Effect": "Allow",
            "Action": [
                "rds:CreateDBInstance",
                "rds:AddTagsToResource"
            ],
            "Resource": "*"
        },
        {
            "Sid": "EBSAccess",
            "Effect": "Allow",
            "Action": [
                "ec2:CreateVolume",
                "ec2:AttachVolume"
            ],
            "Resource": "*"
        },
        {
            "Sid": "GetPrice",
            "Effect": "Allow",
            "Action": "pricing:GetProducts",
            "Resource": "*"
        },
        {
            "Sid": "AllowGetServiceQuota",
            "Effect": "Allow",
            "Action": "servicequotas:GetServiceQuota",
            "Resource": "*"
        }
    ]
}
You can paste the suggested permission JSON into the policy editor. Then click "Next" and complete the creation. Please make sure to take note of the name of the policy you created, as we will use it in the next step.
You can find more information about IAM permissions in this documentation (opens in a new tab).
-
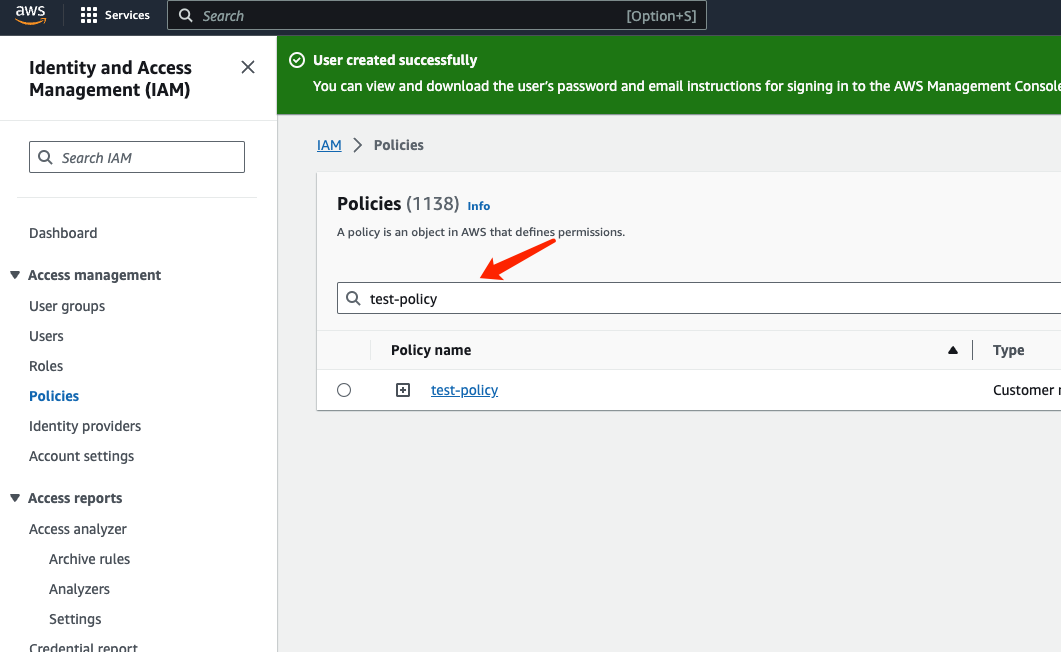
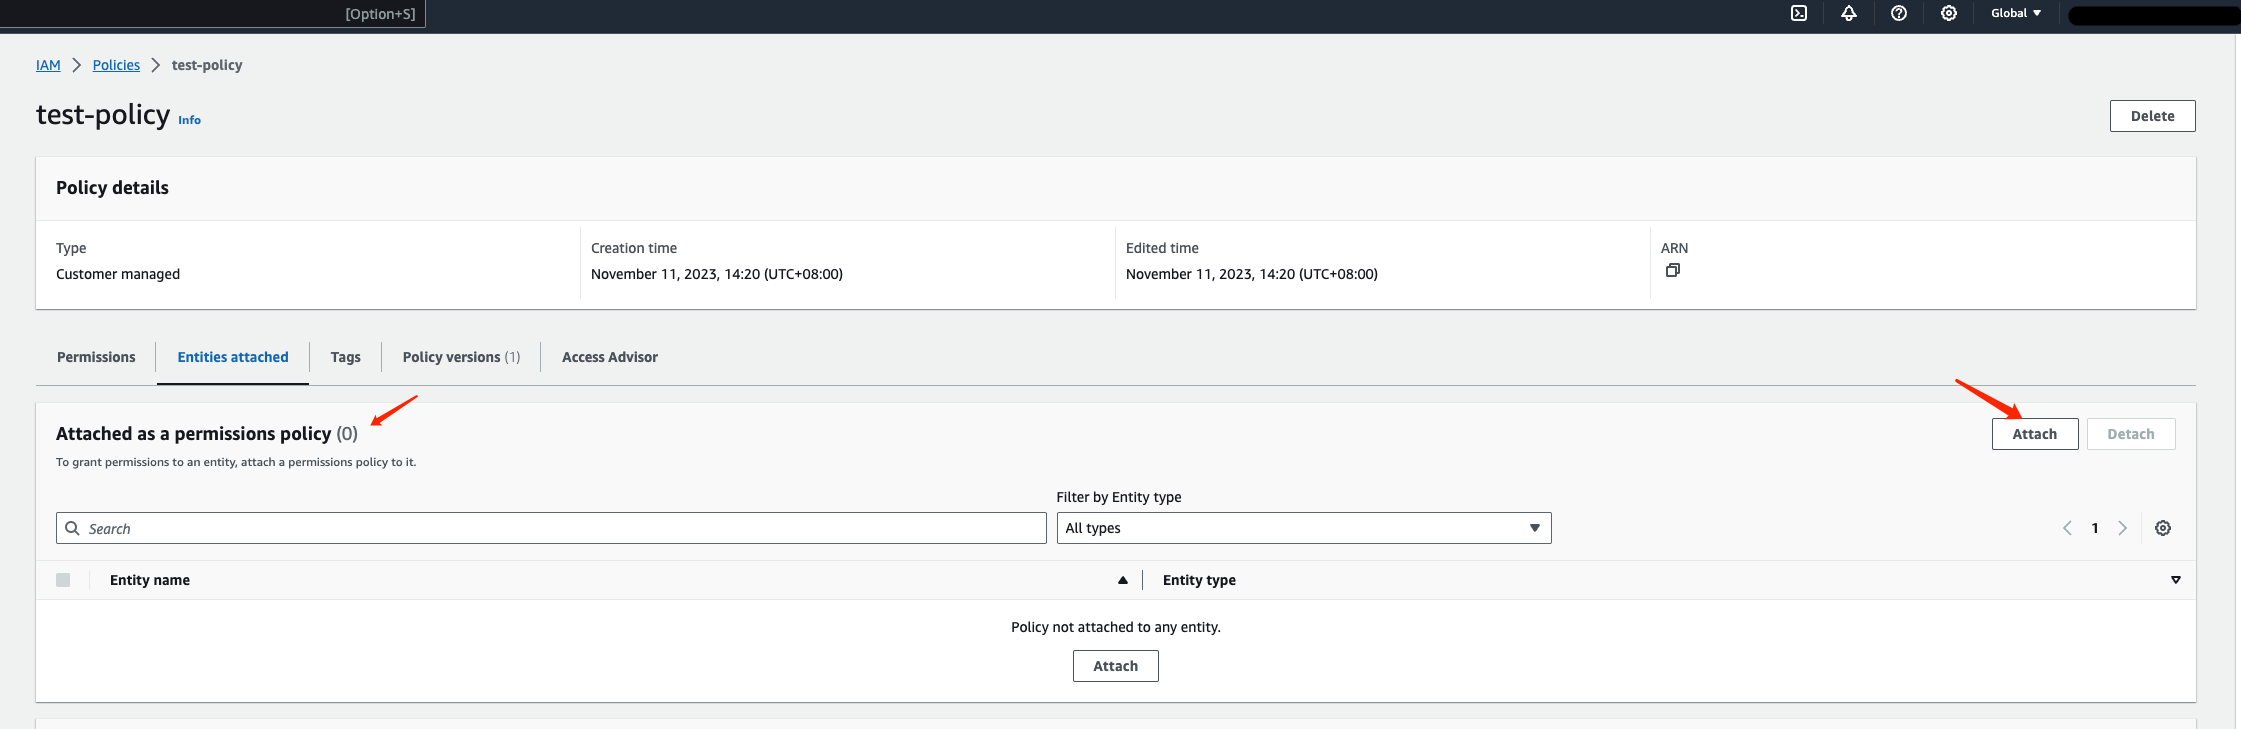
Next, you need to attach the IAM permission to the “user” created in the first step.
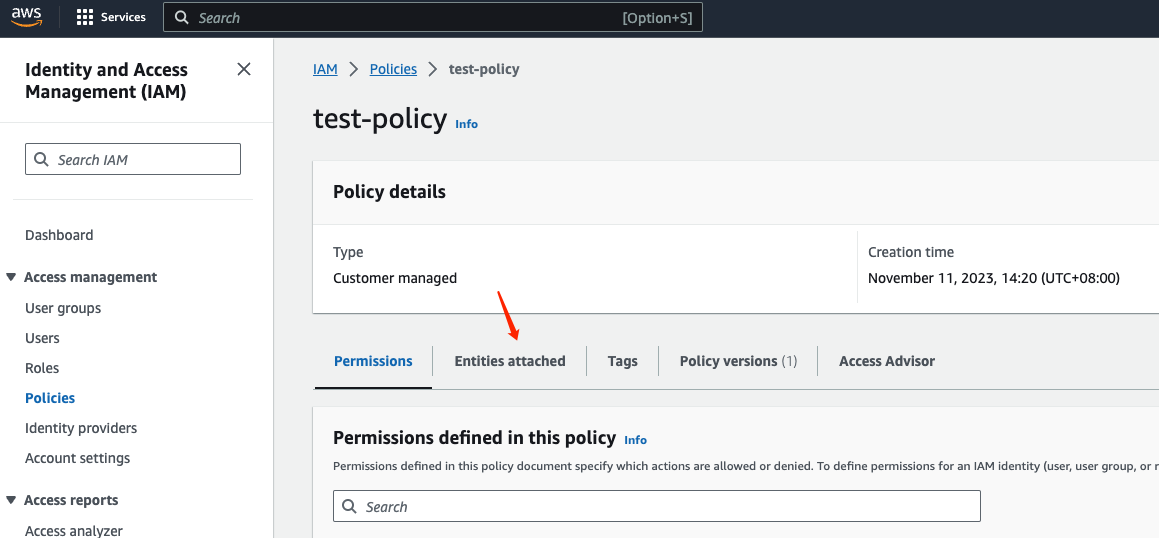
Search for the policy you just created in “Policies”, and click on it to enter the details page:
Click on "Entities Attached":
Click on "Attach" on the right side to attach the policy as a permission policy to the user:
Search for the entity name you created in the first step and click on "Attach Policy" on the right side to attach the policy to it:

You can also refer to this documentation (opens in a new tab) for more information.